7 Best Voltage Instruments for Accurate Measurements
A voltage reading can look simple, but the instrument behind it shapes the result. A small error may affect troubleshooting, equipment checks, or a decision to replace a component. The right Voltage Instrument depends on the circuit, expected voltage, and working conditions. A stable reading matters. Small details matter. Probe condition, range selection, and input impedance can all influence what appears on the display. A loose connection can mislead even an experienced user. Measurements deserve care.
This guide to the 7 Best Voltage Instruments for Accurate Measurements compares options for different tasks, from quick household checks to more demanding bench work. It considers practical features such as measurement range, display clarity, accuracy specifications, safety ratings, and useful functions like true-RMS measurement. A higher price alone does not guarantee a better fit; the instrument must suit the work and be used according to its manual. No single meter is ideal for every situation. Even a careful comparison has limits, since model revisions and measurement conditions can change results. Use this list as a starting point, then verify specifications with the manufacturer and choose leads rated for your application. A second reading is often worthwhile.
How Voltage Instruments Measure Electrical Potential
Voltage instruments show the difference in electrical potential between two points. A digital multimeter or voltmeter connects its probes across those points, in parallel with the circuit component. Its input circuit senses the electrical signal and converts it into a value displayed in volts. The reading is not a count of electrons flowing through a wire; current is measured differently. That distinction matters.
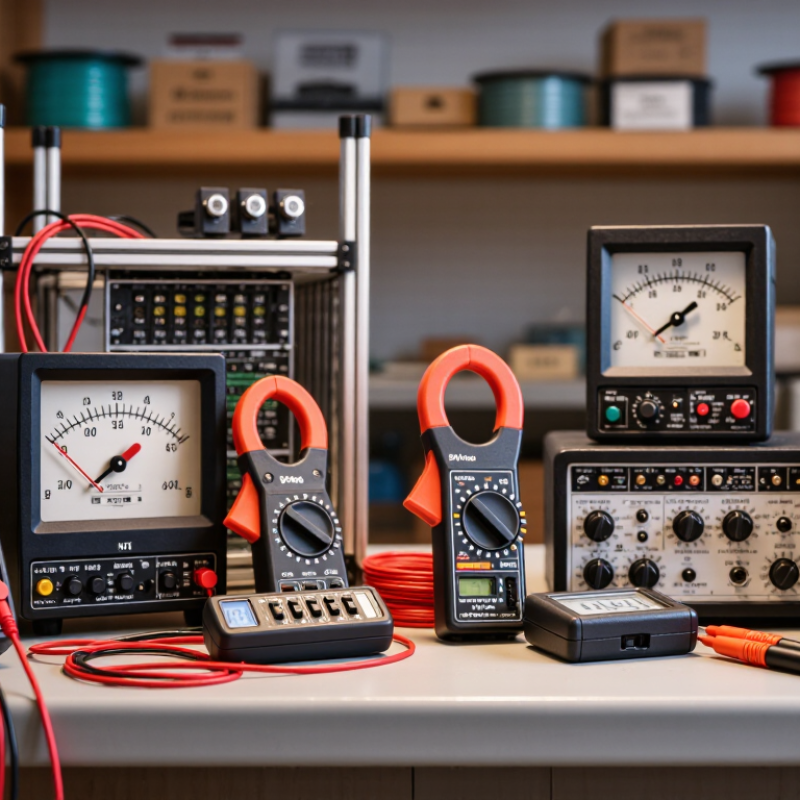
Instrument design affects what the reading can tell you. A high-input-impedance digital meter usually draws little current, reducing its effect on the circuit. An analog meter uses a moving needle, which can make changing readings easier to notice. An oscilloscope displays voltage as a waveform over time, while a non-contact detector can indicate an electric field without giving a precise voltage value. These tools are not interchangeable. Small details matter.
For a meaningful measurement, check the meter’s mode, range, and probe connections before touching the test points. On energized equipment, use properly rated leads and follow safe procedures; uncertain readings deserve a second check. A reading can mislead. I still remind myself that probe contact, a changing load, or an incorrect setting can shift the result. The instrument reports what it senses, not the whole condition of the circuit.
Key Criteria for Choosing a Voltage Measurement Instrument
Choosing a voltage instrument starts with the signal, not the display. For steady, low-voltage circuits, a digital multimeter with suitable accuracy may be enough. Check its stated accuracy as a percentage of the reading plus digits; small readings can reveal large relative errors. Input impedance matters, too. A high-impedance meter can reduce circuit loading, while some measurements call for a probe suited to the source. The details count.
Match the instrument’s voltage range and category rating to the measurement environment. On a bench, range and resolution may matter most; around electrical distribution equipment, transient protection and rated leads deserve close attention. Inspect probe insulation, connector fit, and lead condition before use. Look for clear overload indication, stable readings, and a display you can read from your working position. Calibration records and traceable service support confidence, though they cannot correct poor technique. A practical check helps. Compare a known reference, then repeat the reading with the setup unchanged. Note any drift rather than dismissing it. More features can complicate routine checks, and the highest specification is not always the most useful.
Seven Voltage Instruments for Accurate Measurements
Seven voltage instruments serve different measurement needs, from quick checks to detailed electrical analysis. A digital multimeter displays voltage clearly and suits routine troubleshooting. An analog voltmeter shows movement over time, though its scale takes care to read. A clamp meter can measure voltage alongside current, when its design supports that function. A non-contact voltage tester helps identify energized conductors, but it does not provide a precise voltage value.
For controlled bench work, a bench multimeter offers stable readings and useful resolution. A high-voltage probe extends a compatible meter’s range; the probe and meter must be rated together. A voltage data logger records changes over minutes or hours, revealing dips that a single reading misses. Match each instrument to the expected voltage, waveform, and required accuracy. Check the manual and inspection condition before use. Even careful readings can seem more certain than they are.
Tips: Compare the reading with a known reference when practical. Keep probes steady, use the correct input sockets, and note the measurement range. Avoid relying on a non-contact tester to confirm an exact value. If a displayed result seems odd, repeat the measurement using a suitable instrument; small setup errors can matter.
How to Set Up and Use Voltage Instruments Correctly
Set up a voltage instrument before approaching the test points. Check the casing, probe insulation, and rating for the circuit. Small checks matter. Insert the black lead into COM and the red lead into the voltage jack. Select AC or DC to match the source, then choose a suitable range if the instrument is not auto-ranging. If the voltage is unknown, start with a range above the expected value. Never guess.
For a reading, place the probes across the two points being measured, keeping fingers behind the probe guards. Voltage is measured in parallel, not by breaking the circuit. Keep the tips steady and watch for a stable display. A stable number is not proof of a good setup; loose contact or the wrong setting can still mislead. I’ve seen rushed checks overlook a damaged lead, so inspect again if a result seems odd. Use an instrument rated for the measurement environment, and follow the applicable site safety procedure. After testing, remove the probes carefully and return the instrument to a safe setting.
Calibration, Measurement Uncertainty, and Electrical Safety
Accurate voltage measurements depend on more than a clear display. Calibration checks whether an instrument’s readings remain close to a trusted reference across its working range. A meter that was accurate last year may drift after a hard drop, heavy use, or temperature changes. Record calibration dates and note the conditions under which measurements are taken. Small drift matters.
Measurement uncertainty helps explain how much confidence to place in a reading. Resolution, probe condition, contact quality, and electrical noise can all affect the result. For example, a fluctuating reading on a crowded control panel may reflect interference, not a changing supply. Use an instrument with suitable range and accuracy for the task, and report results with realistic precision. Extra digits do not make a measurement more trustworthy. It is easy to overlook this when a display looks precise.
Electrical safety starts before the probes touch a circuit. Inspect insulation for cuts, check that leads are fully seated, and select the correct measurement function and range. Keep hands behind the probe guards, and avoid working alone where hazardous voltages are present. Pause before probing. If the circuit’s condition or rating is uncertain, stop and seek qualified guidance rather than guessing. A careful pause is part of good measurement practice.